Choosing the Best Dual Tip Markers For Coloring can transform a blank page into a controlled, colorful workspace. These markers usually combine a broad chisel or brush tip with a fine point. That pairing helps artists fill large backgrounds, shade clothing, and draw delicate outlines without changing tools constantly. However, tip design varies widely. Some brush tips feel flexible, while others create firmer, more predictable strokes.
A reliable comparison should examine ink flow, color blending, paper compatibility, comfort, and drying time. During practical testing, I look for smooth coverage across a small flower, a deep blue sky, and narrow lettering. I also check whether pale colors appear evenly or leave streaks. Small details matter. A comfortable barrel can reduce hand fatigue during longer coloring sessions. Yet no marker suits every artist. Alcohol-based ink may blend beautifully, but it can bleed through ordinary notebook paper. Water-based ink often feels gentler on thin pages, although layered colors may become uneven.
Budget deserves attention, too. A large set looks appealing, but unused shades can become clutter. A smaller palette with reliable primary colors may offer more creative control. I have found that personal preferences can change after testing real illustrations. That is worth remembering. This guide compares popular dual-tip options through practical use, not packaging claims alone. It focuses on artists, students, and hobbyists seeking clean details, expressive shading, and dependable results. Even the strongest marker has limitations, so careful paper selection remains part of the creative process.
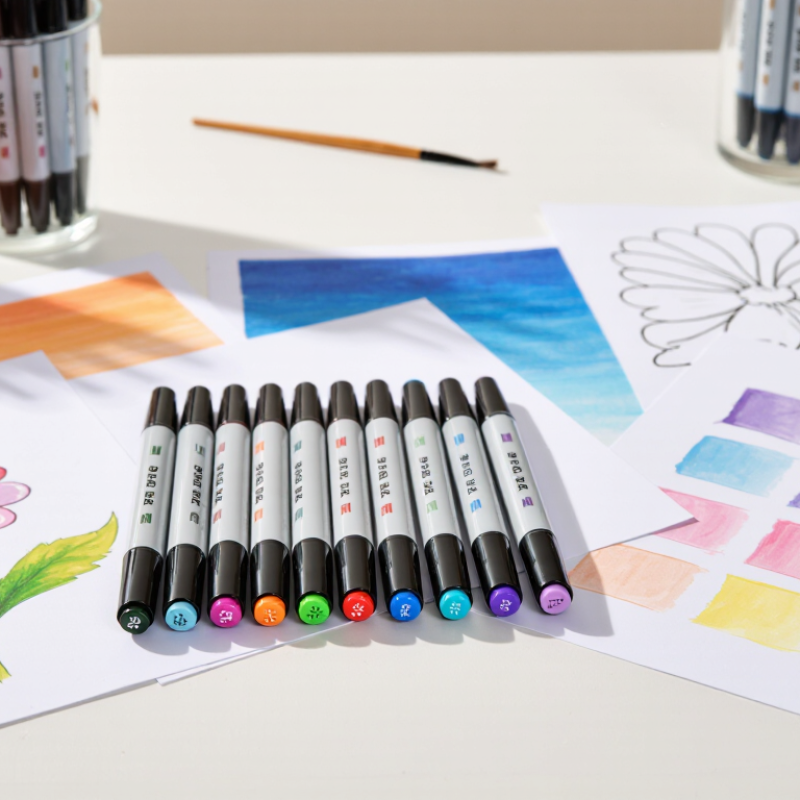
Dual tip markers combine two writing ends in one barrel, usually a flexible brush nib and a fine point nib. The brush tip creates broad, expressive strokes, while the fine tip handles outlines, lettering, and small details. Both nibs draw ink from separate internal channels or shared reservoirs, depending on the design. Cap seals help prevent evaporation, but they are not perfect.
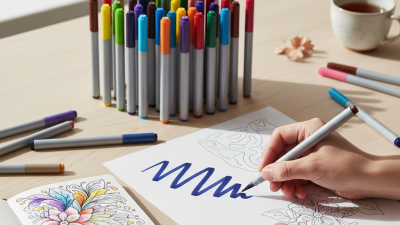
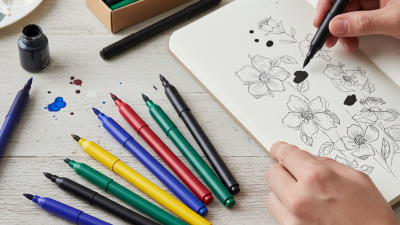
When coloring, I use the brush end for large petals, shadows, and smooth fills. I switch to the fine end for veins, borders, and tiny patterns.
Water-based ink often blends best on smooth, bleed-resistant paper. Still, paper quality changes everything. Rough paper may fray the brush tip and produce uneven color.
I once pressed too hard and ruined a clean edge. That was a useful reminder.
Tips:
Choosing the best dual tip markers for coloring depends on more than color variety. In my coloring tests, a flexible brush tip created smooth petals, curved shadows, and expressive lettering. The fine tip handled borders and small details better. Check whether both tips deliver consistent ink. Uneven flow can leave pale streaks across large shapes. That problem becomes obvious on smooth paper.
Tips: Compare nib firmness, ink saturation, drying speed, and bleed resistance. Test each marker on your actual paper. A marker that works well in a notebook may feather on thin coloring sheets. Look for clear color labels and secure caps. Small details matter.
Comfort also deserves attention. A lightweight barrel reduces hand fatigue during longer sessions. The grip should feel steady, but not slippery. Water-based ink usually produces softer blending and less odor, while alcohol-based ink may layer more smoothly. However, it can bleed through ordinary pages. Lightfastness matters for finished artwork, especially when drawings will be displayed. I once chose vivid colors without checking this feature, and some shades faded sooner than expected. That was disappointing. Dual tip markers often involve compromises, so compare the nibs, ink behavior, paper compatibility, and storage needs before buying a full set.
| Marker Type | Typical Tip Combination | Ink Base | Color Blending | Drying Speed | Bleed-Through Risk | Best Paper Choice | Best Use | Durability Considerations | Overall Coloring Suitability |
|---|---|---|---|---|---|---|---|---|---|
| Fine Point + Brush | Approximately 0.4–0.8 mm fine point with a flexible brush tip | Water-based dye ink | ★★★★☆ | Moderate; usually slower than alcohol ink | Low to medium, depending on paper weight | Marker paper, mixed-media paper, or smooth drawing paper | Illustrations, lettering, controlled shading, and detailed coloring | Brush tips can fray if pressed heavily or used on rough paper | ★★★★☆ |
| Fine Point + Broad Chisel | Approximately 0.5–1.0 mm fine point with a 2–6 mm chisel tip | Water-based dye ink | ★★★☆☆ | Moderate | Low to medium | Smooth paper, coloring sheets, and general-purpose drawing paper | Outlining, filling medium areas, underlining, and everyday sketching | Chisel edges may become uneven when used on textured surfaces | ★★★★☆ |
| Brush + Broad Chisel | Flexible brush tip with a 2–6 mm chisel tip | Water-based dye ink | ★★★★☆ | Moderate | Medium | Thicker marker paper or mixed-media paper | Large coloring areas, expressive strokes, and decorative lettering | The flexible tip offers varied line width but requires light pressure | ★★★★☆ |
| Fine Point + Brush | Approximately 0.4–1.0 mm fine point with a flexible brush tip | Alcohol-based dye ink | ★★★★★ | Fast; often dries within seconds on porous paper | High; ink commonly passes through ordinary paper | Specialized marker paper or heavyweight bleed-proof paper | Professional-style rendering, smooth gradients, and layered coloring | Ink can dry out if caps are not replaced securely; tips may stain | ★★★★★ |
| Fine Point + Broad Chisel | Approximately 0.5–1.0 mm fine point with a 2–6 mm chisel tip | Alcohol-based dye ink | ★★★★★ | Fast | High | Bleed-proof marker paper or smooth heavyweight paper | Rapid coverage, architectural sketches, product concepts, and bold fills | Overlapping strokes can darken unless blended while still workable | ★★★★☆ |
| Fine Point + Brush | Approximately 0.4–0.8 mm fine point with a firm or flexible brush tip | Pigment ink | ★★☆☆☆ | Slow to moderate; some formulas need time to set | Low to medium | Acid-free drawing paper, cardstock, or mixed-media paper | Opaque accents, line work, journaling, and decorative coloring | Pigment particles may settle; shaking or regular remixing may be needed | ★★★☆☆ |
| Fine Point + Broad Chisel | Approximately 0.5–1.0 mm fine point with a 2–6 mm chisel tip | Water-based pigment or archival ink | ★★☆☆☆ | Moderate to slow | Low to medium | Cardstock, mixed-media paper, or smooth art paper | Long-lasting outlines, color coding, and firm-edged fills | May resist blending and can feel less smooth than dye-based ink | ★★★☆☆ |
| Fine Point + Brush | Approximately 0.4–1.0 mm fine point with a flexible brush tip | Water-based, water-reactive dye ink | ★★★★☆ | Slow enough for blending and water activation | Low to medium | Watercolor paper, mixed-media paper, or heavyweight drawing paper | Watercolor effects, soft washes, hand lettering, and layered shading | Colors may reactivate with moisture and can change after drying | ★★★★☆ |
Dual tip markers suit several coloring styles because each end creates a different effect. A brush tip works well for soft petals, flowing hair, and broad background areas. A fine tip adds clean outlines, tiny patterns, and controlled facial details. For lettering, the flexible brush end produces thick downstrokes and narrow upstrokes. The fine end helps correct uneven edges.
For realistic coloring, choose markers with smooth, blendable ink and consistent flow. Layer pale colors before adding darker shadows. On simple illustrations, a firm fine tip may offer better control than a flexible brush tip. I often test the marker on the same paper first, because some colors look brighter after drying. That small detail matters. My first test was too confident, and the paper absorbed more ink than expected. Smooth, heavyweight paper usually reduces feathering and muddy blends. Still, no marker performs perfectly on every surface.
Tips: Keep a scrap sheet beneath your page. Test pressure with short strokes. Use the fine tip for texture, not heavy filling. Leave small white spaces for highlights. Rotate the page when outlining curves. If two colors resist blending, add the lighter shade again before the ink fully dries. For finished artwork, check whether the ink offers suitable light resistance, especially near windows. A short test can prevent a disappointing final page.
What Are the Best Dual Tip Markers for Coloring?
How to Use Dual Tip Markers for Smooth, Layered Results
The best dual tip markers offer a flexible brush tip and a precise fine tip. Look for consistent ink flow, firm nibs, and colors that blend without leaving harsh edges. I test markers on the actual paper before coloring. Paper texture changes everything. Smooth coloring paper supports even layers, while rough paper can wear down a brush tip quickly.
Start with light pressure and broad strokes. Keep each stroke moving in the same direction. This prevents patchy areas and visible overlaps. Let the first layer dry briefly before adding a second color. Wet ink can pull earlier pigment across the page. It looks muddy fast. For shadows, use a related darker shade instead of pressing harder. This creates depth while preserving the paper’s texture.
Use the fine tip for outlines, small details, and narrow gaps. Turn the marker slightly as you work, so one edge of the nib does not receive all the pressure. For smooth blends, overlap colors while both layers remain slightly workable. Test the blend beside your artwork first. I still sometimes add too many layers and lose the lighter glow. When that happens, I pause and leave the area alone rather than forcing another correction. A small white space can make the final coloring feel more natural.
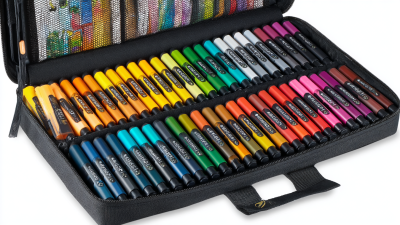
The best dual tip markers are not useful for long if their nibs dry out. In my experience, careful storage matters more than a large color collection. Choose markers with secure caps, consistent ink flow, and tips that recover after moderate pressure. Test both ends on scrap paper before detailed coloring. This reveals skipping, bleeding, or uneven saturation early.
Keep them capped. Small details matter.
Replace each cap immediately after use, and press it firmly until you hear or feel a light click. Wipe dusty nibs with a clean, slightly damp, lint-free cloth. Do not soak them or use harsh cleaners, because moisture can weaken the fiber tip.
I once left several markers open beside a sunny window. Their broad tips became rough within a week, and the narrow tips followed soon after. That mistake changed how I work.
Store dual tip markers horizontally in a cool, dry drawer or a closed container.
Horizontal storage helps distribute ink between both ends, although some marker formulas may behave differently. Avoid hot cars, radiators, and damp craft rooms. Keep light-colored caps visible so you can match colors quickly.
A simple swatch card, dated every few months, also helps track fading and ink levels. I still forget to update mine sometimes. That small gap can make color matching less reliable.
Separate markers with damaged caps before they stain nearby supplies.